The nights have been cool enough so that the fish had their last feeding a few weeks back. Even with the warm fall, the nights are cool enough now so that the water temperature has dipped below 50 degrees according to our pond thermometer. The recommendation is to stop feeding your koi once the water temp dips below 50 degrees Fahrenheit.
Our yard is located in kind of a low point in our neighborhood. Leaves and debris are brought down by air currents and tend to settle in our backyard pond. It was important to get the netting in place prior to when the majority of the leaves dropped. Not doing so would result in a pond overrun with leaves that would require constant skimming and other problems.
Below is a time-lapse video of how the entire process went. From start to finish took around 30 minutes. If you're applying netting across your pond, you'll likely need at least one additional person to avoid the net falling in the water and making the process more complicated.
The project was overseen by our project manager, Hattie, who you'll meet in a moment.
Underneath the video, I describe in more detail the steps - as well as what was used to facilitate the winterization process.

Me
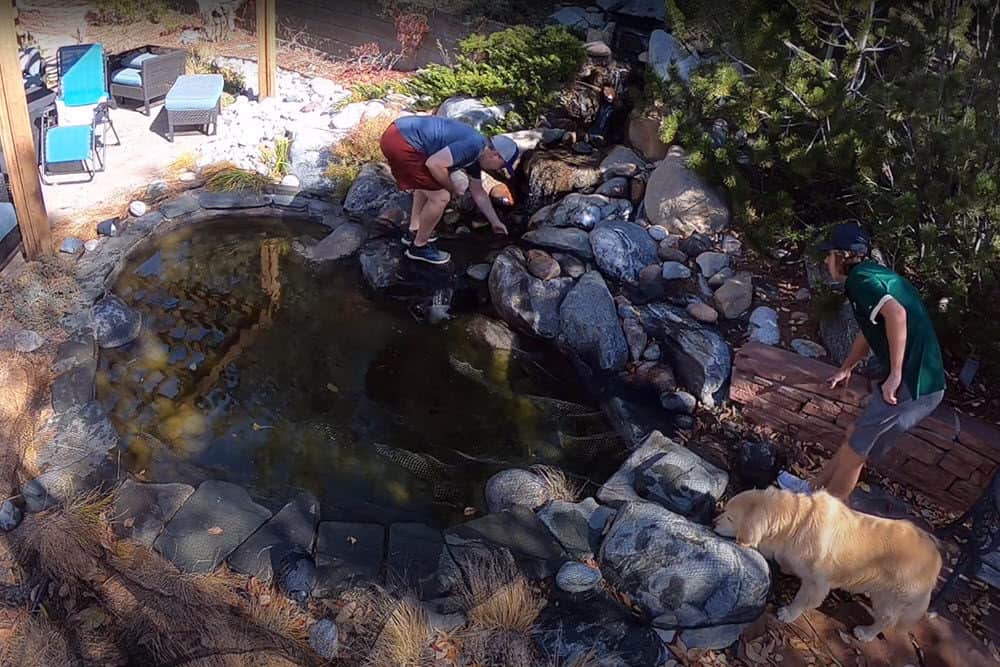
I appear throughout the video. I've had this pond for six years and am pretty good at maintaining the pond - but I still don't quite consider myself an expert. There's still a lot to learn.
Hattie
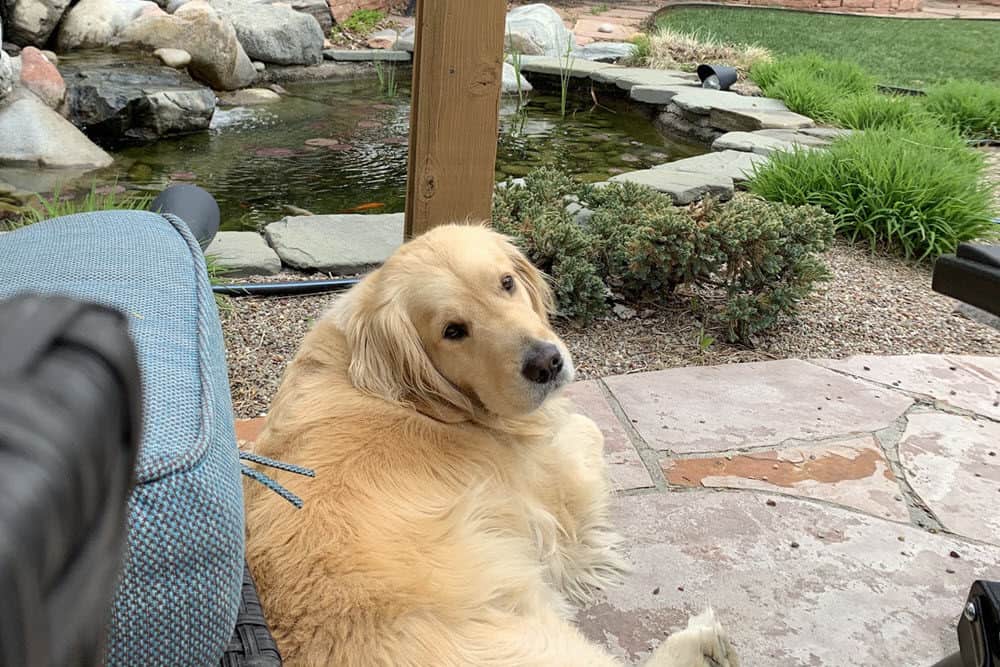
Hattie served as project manager for the winterization process. She's quite adept at keeping predators like raccoons and Herons away, but little else.
Teenage Son
My son also makes some cameos during the video. Placing the net is much easier with two people - more if possible.
Our koi pond is hooked up to our inground sprinkler system and is in its own zone. During the summer months, the pond will fill automatically up to a couple of times weekly based on the level of the float valve in the skimmer box within our pond.
We always like to shut down and blow out the inground sprinklers prior to the first hard freeze - which usually occurs in early October. By the time I started the winterization process, the sprinkler system was shut down and a garden hose was required to refill the pond.
The very dry, warm weather has led to a lot of evaporation and a lower water level in the pond. When the water level gets too low, it can cause issues for the pump. Overheating is the main threat. When a pond pump overheats, it can automatically shut down to prevent damage to the pump. A pump that stops running can lead to aeration and algae problems - so the pond must be kept at an optimal water level.
So, I had to use a garden hose to get the water level up to normal. The garden hose is running for the duration of the winterization video.
Whenever you add chlorinated water to your pond (as I'm doing in the video) you need to be careful that the chlorine doesn't harm your fish. For this, I used a de-chlorinator.
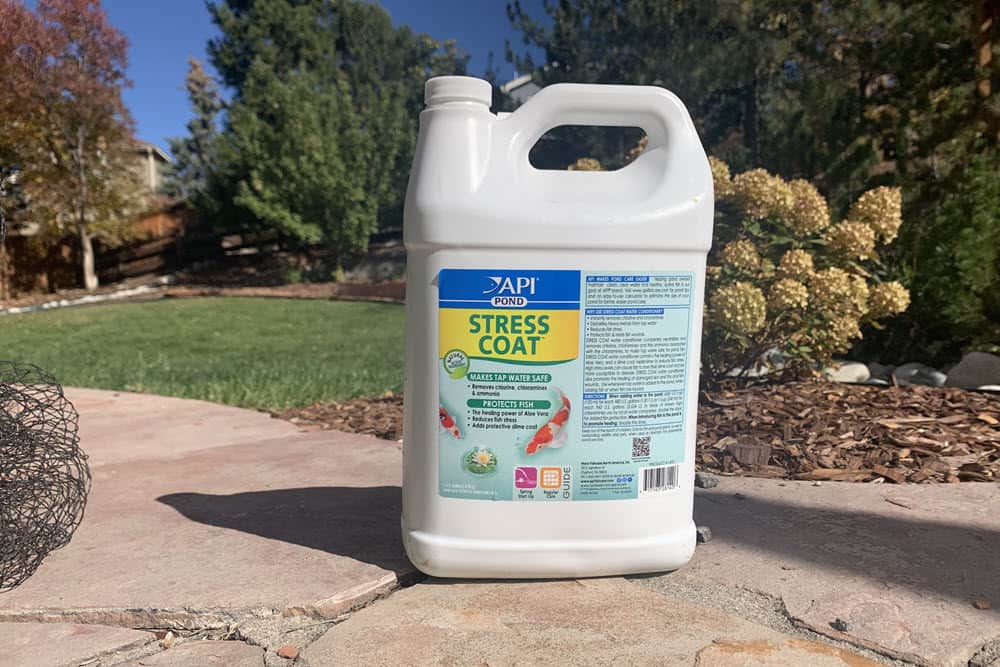
I use "Stress Coat" by API Pond. Stress Coat is able to completely neutralize and remove chlorine and promote the slime coat on your pond fish.
The instructions are 1/2 cup for each 480 US gallons of water in your pond.
Chlorine and the ammonia that enter your pond from tap water can be extremely dangerous to your koi fish.
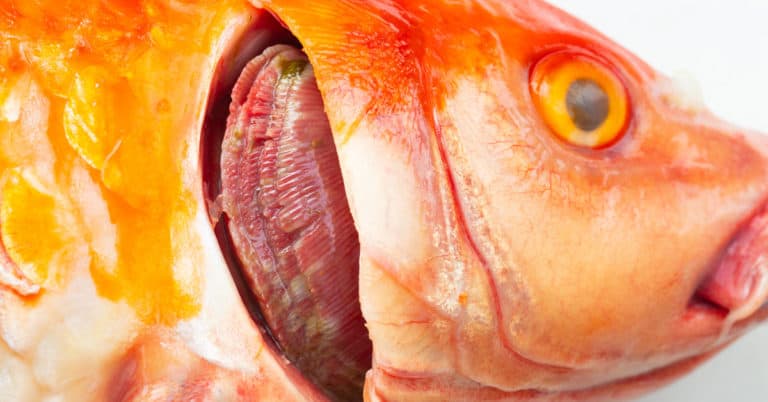
Ammonia poisoning is a frequent cause of death in koi ponds. Strange behavior - like lying on the bottom of the pond or hanging out on the surface of the water may be a sign of ammonia poisoning. Gills that turn red can also be a sign of ammonia poisoning. If you notice any of these issues, you should test your water immediately.
Note that I didn't apply the stress coat until after this video was completed.
See our article on ammonia poisoning in koi fish for more information about the dangers of not de-chlorinating tap water.
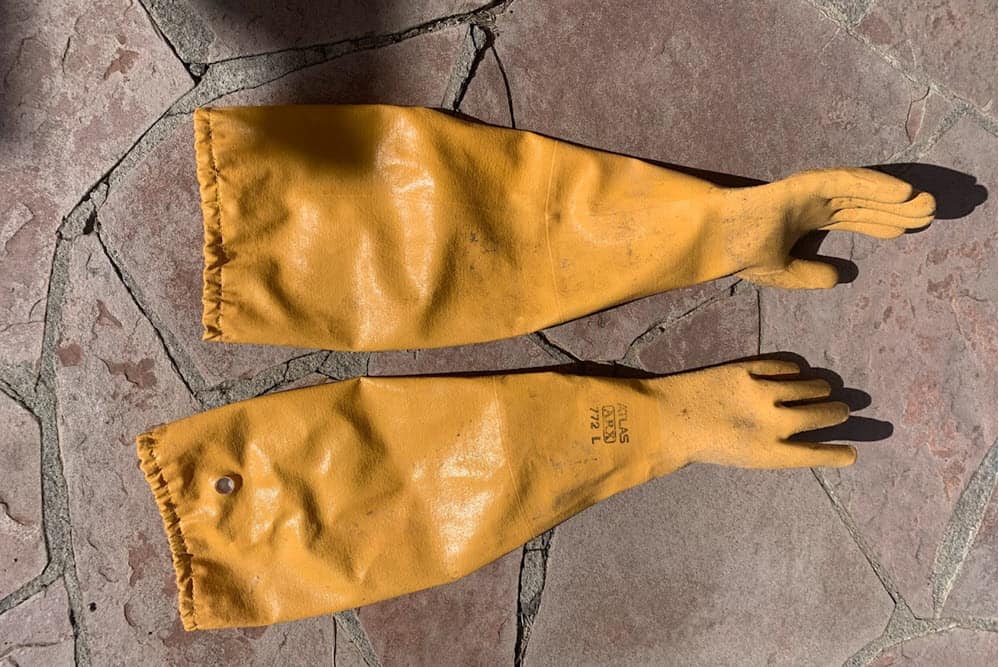
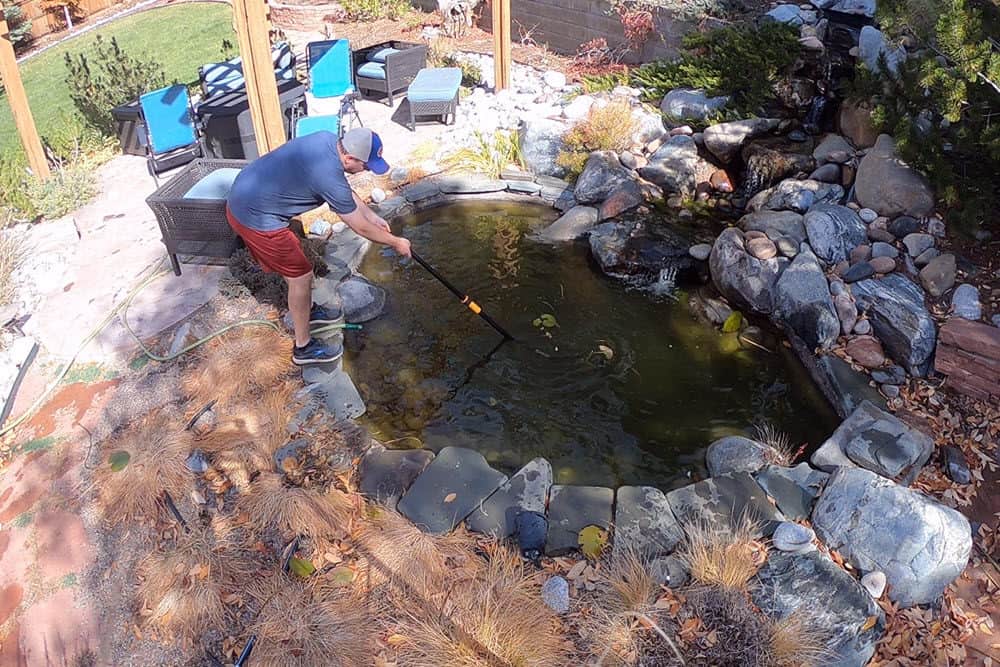
I purchased these "Nitrile Chemical Resistant Gloves" from Amazon a few years back. They're durable and they go all the way up to my shoulder. They're handy for pond maintenance activities like removing debris, cleaning filter pads, and cleaning the pond pump in my koi pond.
Despite my best efforts, the pond gets a lot of direct sunlight during the summer months - and this results in a fair amount of algae buildup on the pond.
These gloves keep me and my clothes largely free from the muck that comes with fish pond ownership.
You can see that for the video above I only used the gloves briefly to remove old, dead lilypads and stems.
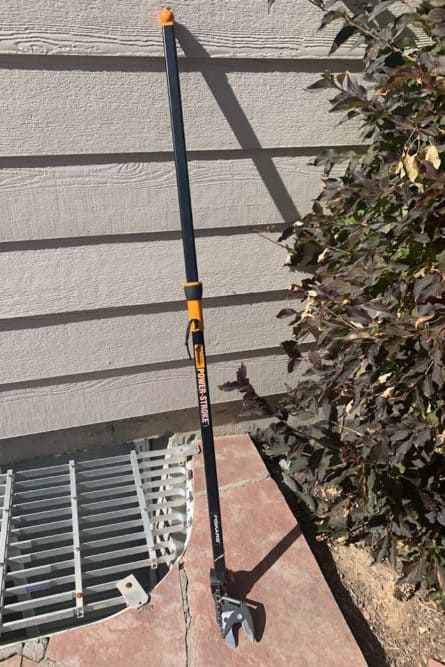
Fiskars Power Stroke tree pruner isn't designed for pond maintenance, but it does an amazing job at trimming decaying aquatic plants like lilypads and reeds. This is what I spent the most time doing during the maintenance process. In smaller ponds, a pruner like this one is probably all you need to remove pond plants and prevent organic matter from decaying and causing algae problems in the future.
There are water lilies towards the center of the pond that are too difficult for me to reach with my gloved hands (my usual way of removing dead vegetation). The pruner allows me to easily remove dead vegetation (water lilies and reeds) that is still attached to the bottom of the pond.
The pruner is lightweight and has a cutting angle that works perfectly to sever the stem from the bottom of the pond.
You can also see in the video that the pruner is free of ropes. Cutting with the pruner is easy, you just pull a knob at the end of the pruner and it closes the pruning blades, making a quick and effective cut.
Once cut, the lily pad and the stem both float to the surface. The stem of the water lily is full of gas pockets - as you might expect - which allows the lily pad to rest on the surface of the pond.
It is a good idea to remove all of this dead and decaying debris from your pond. Not doing so can result in excess nutrients in your pond. This can result in algae build-up and an excess of plants. Maintaining a pond under these conditions can get extremely difficult.
New pond owners have nothing to fear about trimming back water lilies and reeds. They'll grow back. Water lilies are actually considered invasive species and grow rapidly. They can even inhibit air exchange and warm up the pond if they cover too much of the surface area of the pond water. Pruning should happen periodically during the spring and summer - not just when it is time to winterize the pond.
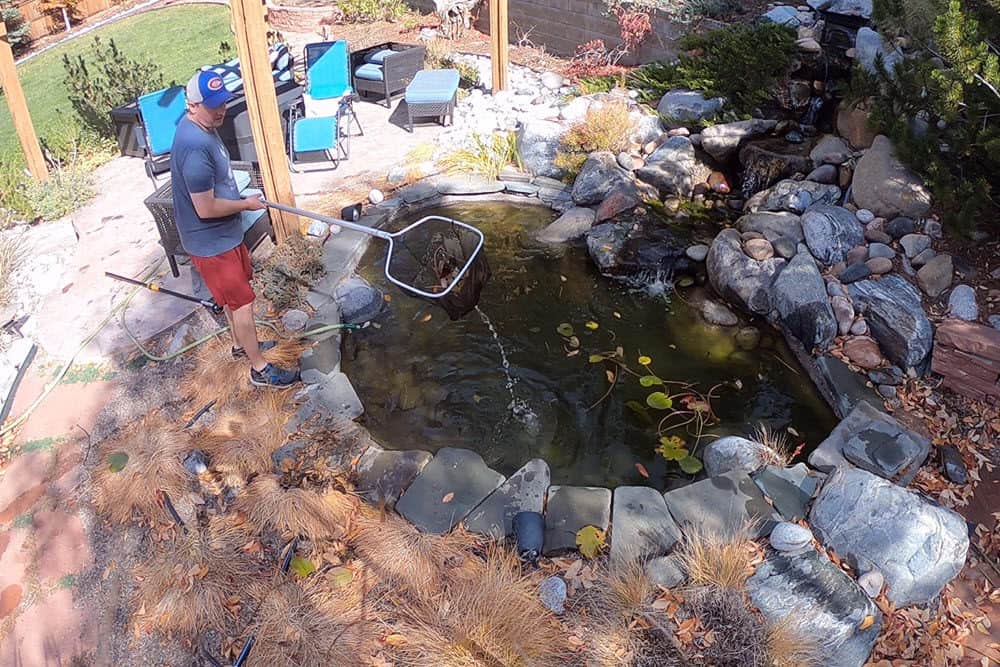
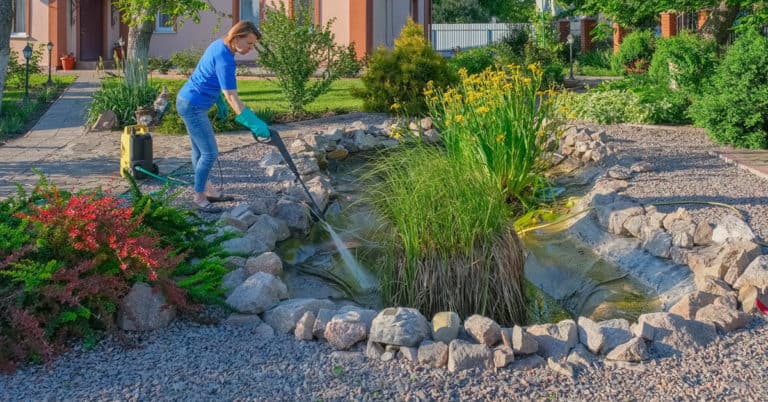
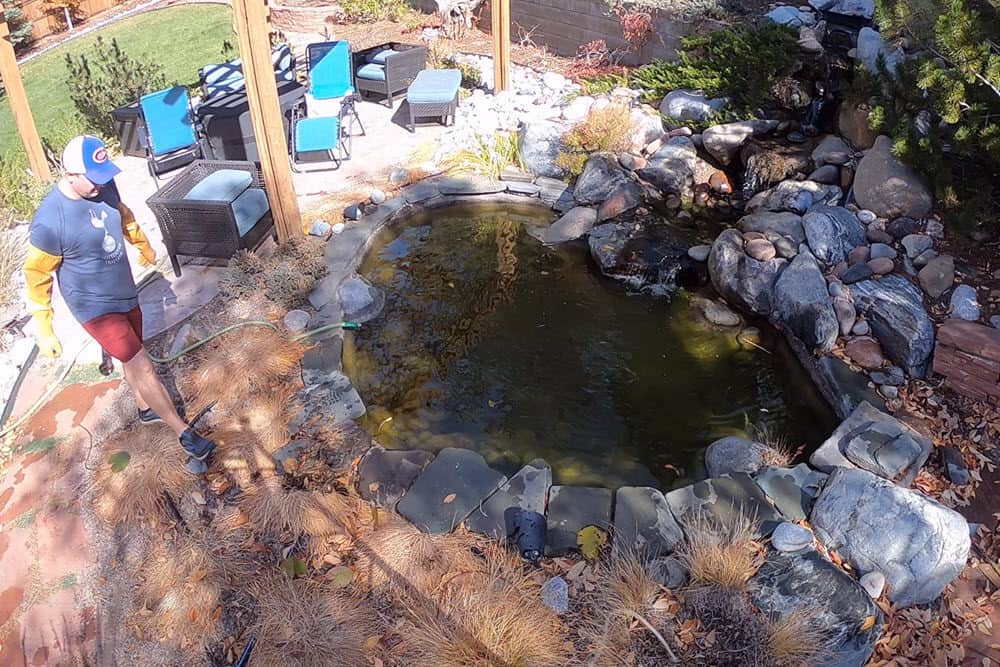
I used a pole pond net skimmer at the beginning of the video to remove the leaves which had already made their way into the pond. I also used the pond net to remove the lilies, reeds, and other plant material that were cut as part of the pruning process.
This net is pretty beat up and it is probably about time for me to get a replacement.

This will be the subject for a later video. In most years, getting the deicer set up would have been part of the winterization process. As you can see in the video above, I opted to not set up the pond deicer due to the weather still being quite warm.
The deicer acts as a localized pond heater and needs to be plugged in all winter in order to maintain a 3-inch hole on an iced-over koi pond in order to ensure proper gas exchange. I'm going to wait a couple of weeks to set up the deicer. Once I see ice formation and know that a freezover is imminent, I'll set up the pond heater.
It is possible that a water feature (like my waterfall) may provide enough aeration during the winter to make the deicer unnecessary, but I'd rather not take any chances.
You can see in the photo below from previous years that freezing temperatures create a pretty solid icecap on the pond - even though water is running in the waterfall, it is covered by ice, and there isn't a whole lot of chance for air to circulate in and out of the pond.
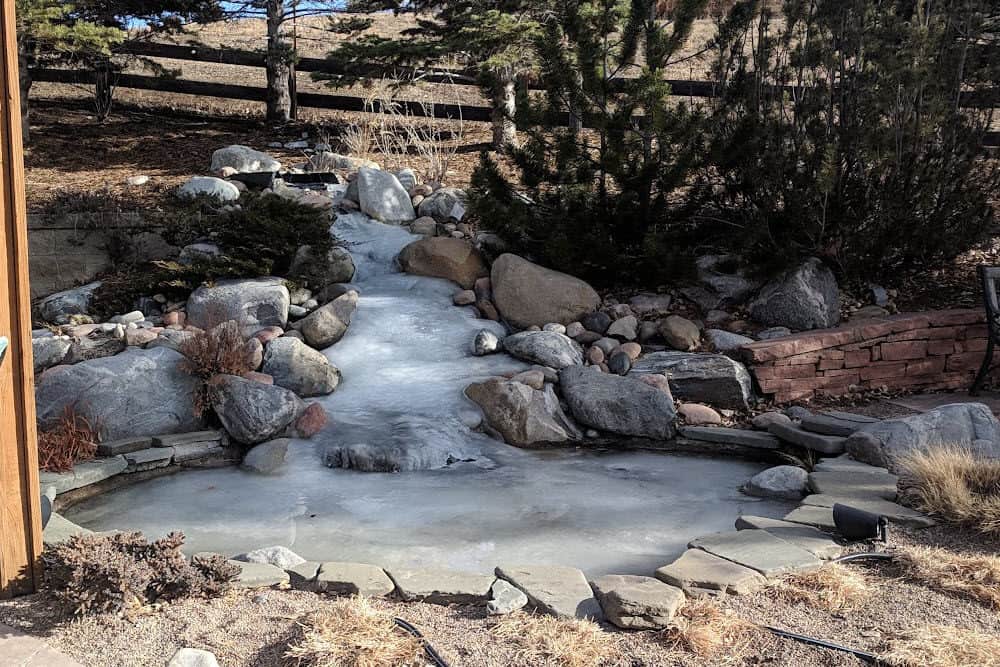
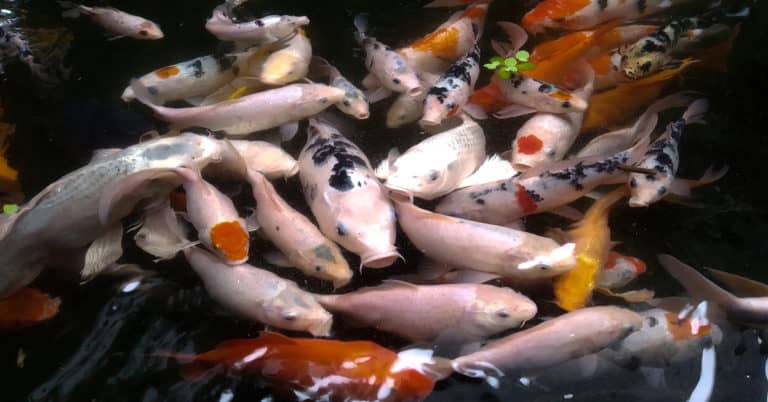
Fortunately here on the Front Range of Colorado, the koi can stay in the pond year-round as the temperatures aren't brutally cold. The ice that forms doesn't freeze the pond solid, and instead serves to insulate the pond water and keep the water temp comfortable enough for the koi fish.

Koi pond netting is extremely effective at keeping leaves and other debris out of the pond. You don't want all this biomass to settle in your pond.
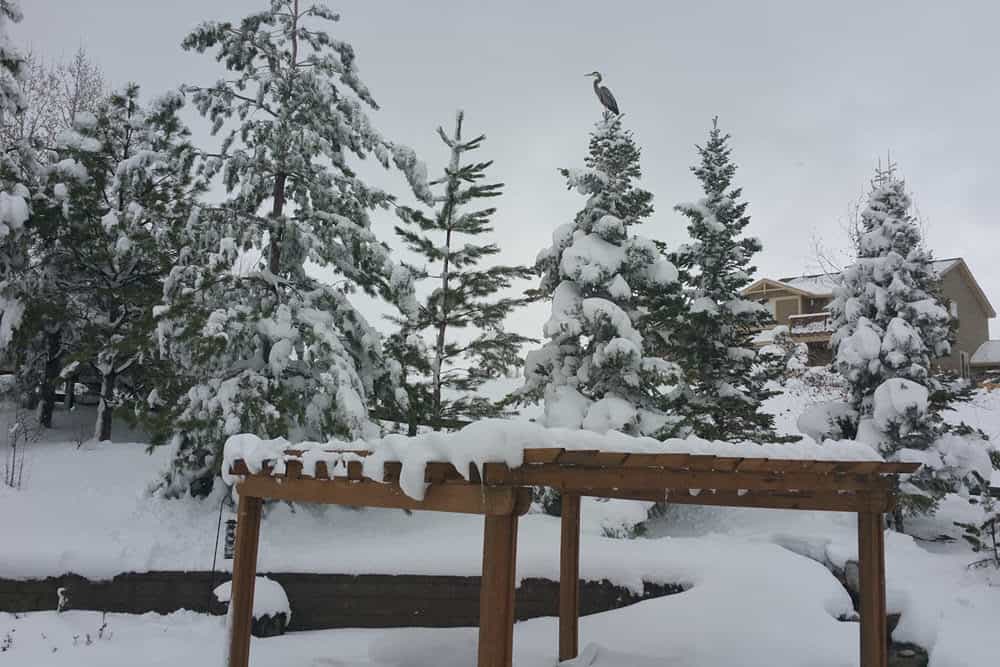
The netting serves another important purpose - keeping predators away from the pond. Having just pruned away the remaining lilies, my pond is now much more open and the fish are much more visible to predators. We have had Great Blue Heron visits to the pond that have ended with poor results. The netting assists at keeping predators at bay.
Koi Pond Netting Sizes
Pond netting comes in different sizes, you'll obviously want to get a size that fits your pond. My pond netting is 15 feet x 20 feet which is more than large enough to easily cover my pond. The netting is lightweight - weighing only 2 pounds
My pond netting kit also came with plastic stakes (which I no longer have). I believe the stakes were around 6 inches in length. The stakes are useful if your pond is surrounded by a lawn with relatively soft earth. As you can see in the video, I use rocks - and not stakes - to keep my pond netting in places. There is too much hardscape around the pond making it impossible to use the stakes.
You can see in the video that it is a bit of a challenge to secure the net around the waterfall. Setting up a rock barrier to keep leaves from sliding under the net and into the pond takes a bit of effort.
Unfortunately, the net isn't just set it and forget it. I like for the net to be tight and suspended above the water. This increases the chances that debris won't settle onto the net - as it would if it was concave or in the water.
I also don't want the net settling in the pond. My concern would be creating a hazard where the koi could somehow become trapped.
While this reduces wintertime maintenance, it doesn't eliminate it. The net will eventually collect leaves. I periodically will use a leaf blower to get rid of any leaves that are beginning to settle on the net. Sometimes leaves will get damp or frozen that will weigh down and stretch the net. Snow may also collect on top of the net, which will cause it to dip.
The net needs to be checked periodically during the fall and winter - especially after large weather events to make sure it is still doing an effective job.
This is the third season I've used the koi pond netting, and it is beginning to show a little wear and tear. There are a couple of holes in the netting. The determination will be made in spring whether or not this will be the last year for this pond net. When you purchase a koi pond net, I wouldn't plan on it lasting more than 2-4 years depending on your environment.
This wraps up the first part of the winterization process - which is really the bulk of what needs to be done. I still have to put in the deicer and do periodic maintenance during winter months. These activities will be part of future posts where I cover keeping the pond netting clear of debris, maintaining pond water level, cleaning the pond pump, and adding beneficial bacteria.